
Home » News » Company News
High Precision Transformer Testing Equipment Price & FAT Guide
Factory acceptance testing (FAT) is the final quality-control checkpoint before a transformer leaves the factory. Through systematic testing, manufacturers, utilities, third-party inspection agencies, and EPC teams can verify that the transformer has been assembled correctly, meets the applicable technical requirements, and is ready for safe shipment and commissioning.
For power and distribution transformer manufacturers, FAT is more than completing a checklist. It is a standardized process that supports product quality control, testing efficiency, customer acceptance, and long-term operational reliability.
This guide explains how to apply high-precision transformer testing equipment in a practical FAT workflow. It covers key stages including test preparation, low-voltage electrical testing, no-load and load loss measurement, impedance measurement, dielectric testing, results review, and test-record and report management.
What a Transformer FAT Should Confirm
A transformer FAT is not simply a final pass-or-fail check. It is a controlled verification process that confirms the tested transformer matches its approved nameplate data, technical specification, and factory test requirements before delivery.
Depending on the contract, transformer type, voltage class, and applicable test standard, a FAT may include:
- Visual inspection and nameplate verification
- Winding DC resistance measurement
- Transformer turns ratio, vector group, and polarity checks
- No-load current and no-load loss measurement
- Load loss and short-circuit impedance testing
- Power-frequency withstand voltage testing
- Induced withstand voltage testing
- Temperature-rise, functional, and accessory checks where required
The final test plan should follow the approved technical specification, applicable standards, and customer requirements. Not every transformer requires the same combination of routine, type, and special tests.
Start With a FAT Test Plan
Before connecting any transformer testing equipment, prepare the test plan and confirm the transformer information. This reduces incorrect settings, unnecessary retesting, and delays during customer witness testing.
The test file should include:
- Transformer model and serial number
- Rated capacity, rated voltage, frequency, and phase configuration
- Vector group and winding connection information
- Tap range and current tap position
- Cooling method and applicable accessory list
- Required FAT items and acceptance criteria
- Test instrument model, serial number, and calibration status
- Test date, ambient conditions, and test personnel
- Customer or third-party witness requirements
The FAT procedure should also define who can authorize energization, who monitors the test area, and how unexpected results are recorded and reviewed.
Match Equipment to Each Test Task
A complete transformer FAT usually requires more than one instrument. Selecting equipment by test task makes the workflow clearer and prevents the common mistake of expecting one tester to cover all electrical and dielectric tests.
- Use a DC resistance tester to check winding resistance, phase balance, joints, and tap-changer current paths.
- Use a transformer ratio tester to verify transformation ratio, ratio error, phase relationship, vector group, and required tap positions.
- Use capacity, no-load, and load-loss equipment to measure excitation current, no-load loss, load loss, and related capacity parameters.
- Use short-circuit impedance equipment to measure impedance voltage and related impedance values.
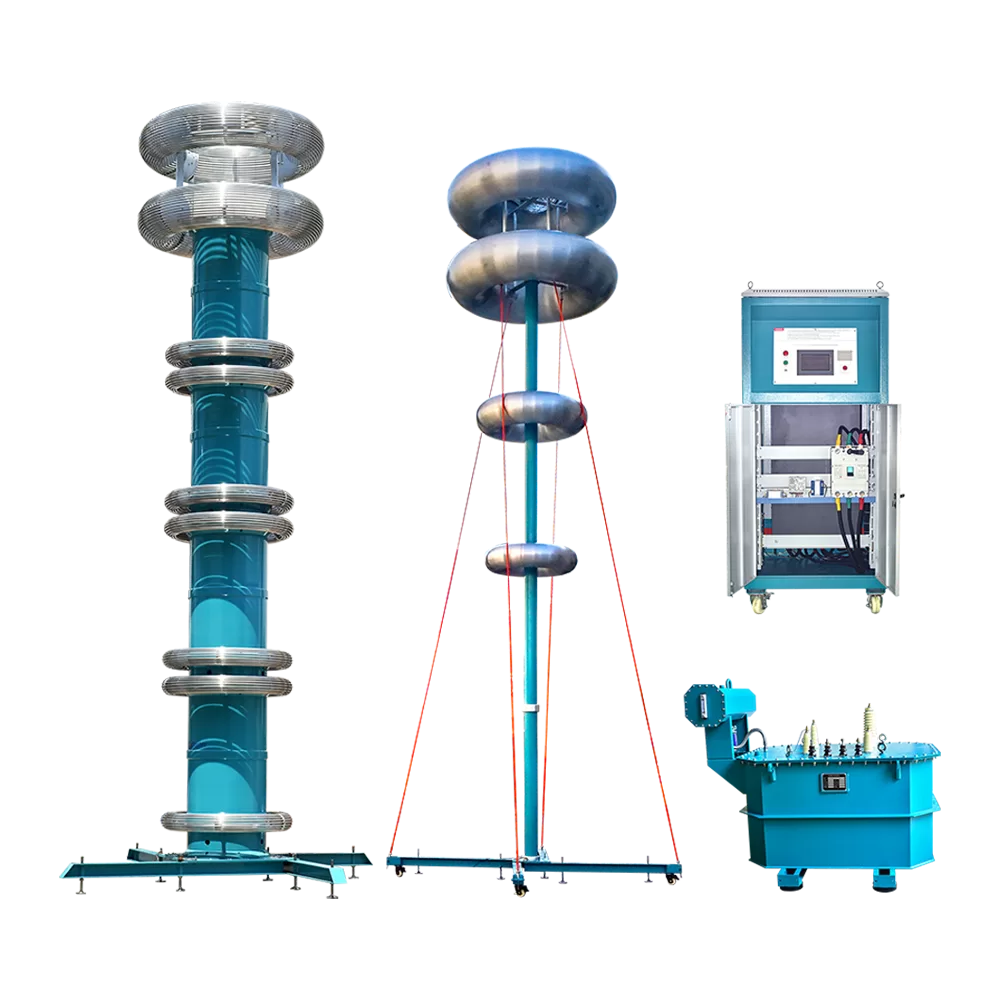
- Use AC and induced-voltage withstand systems to verify insulation performance under specified test conditions.
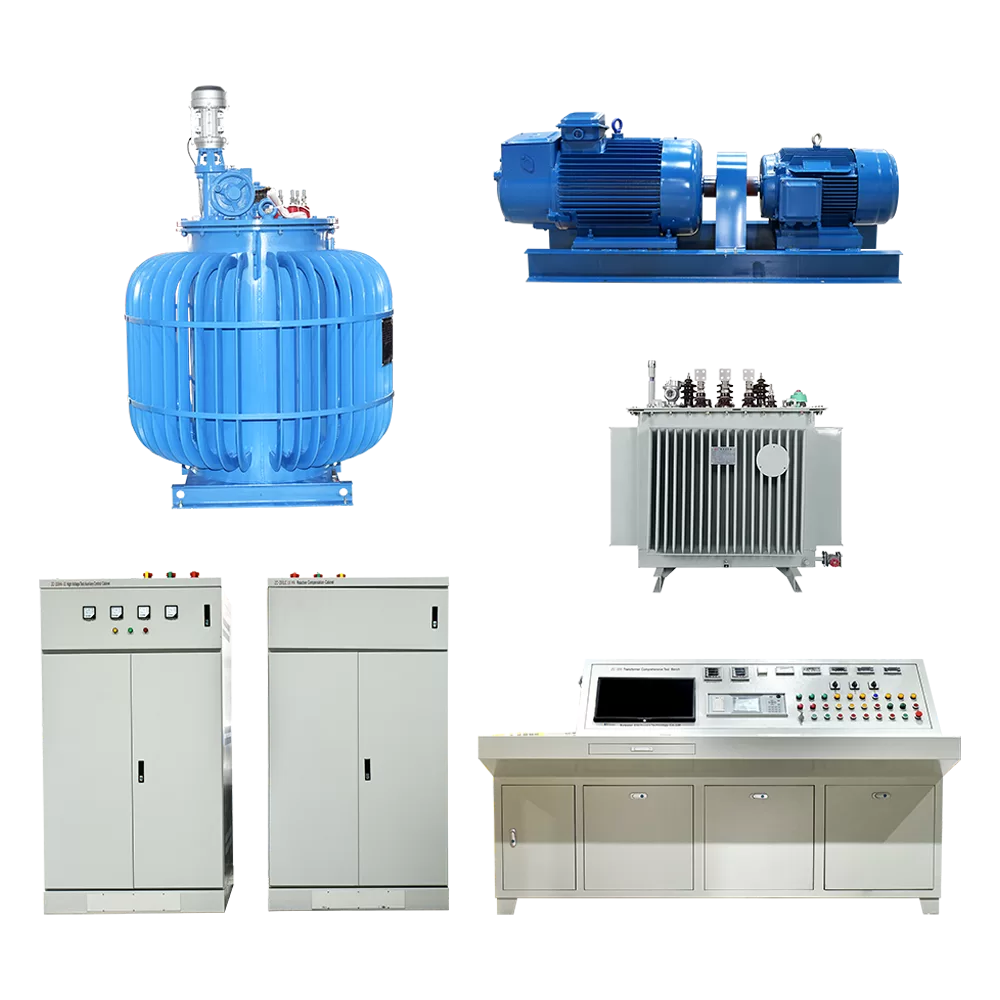
For production lines or dedicated transformer test bays, the ZC-200 transformer test control desk can form part of a configured factory test system. It is suitable for specified power and distribution transformer tests, including no-load and load characteristics, power-frequency withstand voltage, induced withstand voltage, and temperature-rise testing. The final configuration should match the transformer rating, required FAT items, and factory test-bay conditions.
Step 1: Inspect the Transformer and Verify Nameplate Data
Begin FAT with a physical and document review before making any electrical connection.
Confirm the model, serial number, rated capacity, voltage ratio, frequency, vector group, tap range, terminal marking, grounding points, bushings, radiators, valves, gauges, and control cabinets. Inspect for transport damage, loose fasteners, oil leakage, or damaged insulation parts.
For oil-filled transformers, check the items specified in the purchase requirement, such as oil level, sealing condition, pressure-related accessories, and protective devices. For dry-type transformers, inspect winding surfaces, terminal connections, enclosure condition, and cooling components where installed.
Record any discrepancy before testing begins. Electrical test results should not be used to close an unresolved nameplate, assembly, or accessory issue.
Step 2: Confirm Wiring, Settings, and Safety Controls
Correct wiring and parameter entry are essential for meaningful results. Before energizing the circuit, verify the transformer connection diagram, selected leads, phase sequence, test range, and tap position.
- Confirm the transformer is isolated and properly grounded.
- Check that all test leads are firmly connected to the correct terminals.
- Enter the transformer’s rated capacity, voltage, vector group, and tap information into the instrument or software.
- Select a voltage and current range that suits the expected test value.
- Confirm the regulating device is at zero before energization.
- Establish an exclusion area for high-voltage tests.
- Assign a dedicated safety observer when performing withstand-voltage tests.
- Confirm that emergency-stop and protection functions are available and understood.
Do not connect or disconnect test leads while terminals are energized. For high-voltage tests, the transformer enclosure, test system enclosure, and required high-voltage return points must be reliably grounded. Clear non-test personnel from the controlled area before voltage is applied, and use controlled voltage rise and reduction throughout the test.
Step 3: Measure Winding DC Resistance
Winding DC resistance testing is normally performed early in the FAT sequence because it is a low-voltage test that helps identify connection, winding, and tap-changer issues before higher-voltage testing begins.
- Confirm the transformer is de-energized and isolated.
- Connect the DC resistance tester according to the winding configuration.
- Select the appropriate output current according to the expected resistance range.
- Enter the tested transformer number and temperature information where applicable.
- Start the measurement and wait until the current and voltage stabilize.
- Record the resistance value for each required phase and winding.
- Test the required tap positions according to the FAT plan.
- Allow the instrument to complete discharge before moving leads or changing the tap position.
The ZC-205A DC resistance tester provides output current ranges from 2 mA to 10 A and supports single-phase and three-phase transformer winding resistance testing. It can display and print three-phase test data, calculate three-phase unbalance, record test time, and provide wiring inspection, overcurrent protection, and discharge indication.
Review measured values according to the approved procedure, including phase-to-phase consistency, tap-position comparison, temperature-corrected resistance values, and comparison with approved manufacturing data or previously verified values. Do not remove test leads until the discharge alarm or indication has ended.
Step 4: Measure No-Load Current and No-Load Loss
The no-load test evaluates transformer excitation behavior and no-load loss under the specified test condition. It is commonly performed with the required winding energized while the opposite side remains open, following the approved test connection.
- Connect voltage and current measurement leads according to the approved transformer test diagram.
- Confirm the selected voltage and current ranges.
- Set the regulating device to zero before energizing.
- Energize the test circuit and raise voltage gradually.
- Stop at the specified test voltage.
- Monitor three-phase current and voltage values during the test.
- Record no-load voltage, no-load current, no-load loss, frequency, and applicable correction data.
- Reduce voltage back to zero before disconnecting the circuit.
When using a test control desk, voltage and current ranges must match the transformer capacity and expected test current. If one phase current rises abnormally during voltage application, reduce voltage, isolate the circuit, and inspect the transformer and test connection before continuing.
Step 5: Measure Load Loss and Short-Circuit Impedance
Load-loss and short-circuit impedance tests help verify transformer performance under the required test current. They also create baseline data for later comparison if the transformer is exposed to short-circuit forces during service.
A capacity and load tester can simplify the measurement and calculation of power-frequency parameters. The ZC-202B transformer capacity and load tester measures transformer capacity, no-load current, no-load loss, short-circuit or load loss, and impedance voltage. It supports automatic range switching and applies waveform, temperature, non-rated voltage, and non-rated current corrections to relevant results.
- Confirm the required winding is securely short-circuited according to the approved diagram.
- Verify transformer capacity, tap voltage, connection type, and target current settings.
- Raise voltage slowly from zero until the specified test current is reached.
- Keep voltage and current stable while the measurement is taken.
- Record voltage, current, power, load loss, impedance value, and impedance voltage.
- Apply approved correction methods where required by the test procedure.
- Reduce voltage to zero before changing any connection.
For three-phase transformers, complete the required phase measurements under comparable test conditions. Differences in test current, wiring, temperature, or settings can make phase-to-phase comparisons unreliable.
Step 6: Perform Power-Frequency Withstand Voltage Testing
The power-frequency withstand test verifies whether the insulation system can withstand the specified AC voltage for the required duration. This high-voltage test must be performed by qualified personnel using an approved test arrangement and safety procedure.
- Complete all required low-voltage electrical tests first.
- Connect the transformer, test transformer, measurement device, protection components, and grounding points according to the approved wiring diagram.
- Confirm overvoltage and overcurrent protection settings.
- Clear non-test personnel from the controlled area.
- Set the regulator to zero before energization.
- Raise voltage gradually to the specified test value.
- Maintain voltage for the required duration.
- Monitor voltage, current, transformer condition, and protection status throughout the test.
- Reduce voltage smoothly to zero after the test.
- Isolate, discharge, and confirm the circuit is safe before approaching or reconnecting.
If abnormal meter movement, burning smell, smoke, unusual sound, or other unexpected behavior occurs, reduce voltage immediately, disconnect the supply, and investigate before retesting. The specified voltage level, duration, protection settings, and acceptance method must come from the applicable standard and approved FAT procedure.
Step 7: Perform Induced Withstand Voltage Testing
Induced withstand testing evaluates winding insulation under the specified induced-voltage condition. It is commonly included when required by transformer design, insulation level, standard, or customer specification.
Define the test arrangement, applied frequency, voltage level, duration, and monitored values before starting. Verify the winding connections, confirm the required high-voltage-side condition, and use gradual voltage application.
Monitor output voltage and current continuously, follow the approved timing requirement, keep the test area isolated, and stop immediately if protection operates or abnormal behavior is observed. Reduce voltage to zero and discharge the transformer after completion.
Review Results Before FAT Sign-Off
A FAT report should show more than final pass-or-fail statements. It should allow the manufacturer, customer, and third-party inspector to trace each result to the tested transformer, test conditions, instrument settings, and acceptance requirement.
Review nameplate and visual-inspection results against approved drawings, purchase specifications, and accessory lists. Review DC winding resistance using the approved procedure, temperature-corrected comparison, and phase consistency. Compare ratio and vector-group results with nameplate data, design data, and FAT requirements. Review no-load, load-loss, and impedance results against contracted requirements and approved correction methods.
For dielectric tests, retain the applied voltage, frequency where applicable, duration, protection settings, and test status.
Where a result is outside the expected range, first verify the test setup, wiring, tap position, selected range, environmental condition, and calculation method. If the result remains abnormal after verification, document the issue, perform the required engineering review, and retain both original and repeat-test records.
Build Traceable FAT Records
A complete factory acceptance package should include:
- Transformer identification and nameplate information
- Purchase order and technical specification references
- Test procedure and applicable standard reference
- Test instrument model and calibration status
- Test date and ambient temperature
- Test connections and tap positions
- Raw readings, corrected values, and final results
- Any retest, repair, deviation, or engineering disposition
- Customer or third-party witness signatures where required
Maintain original records together with exported data where available. Test data should remain traceable to the instrument, operator, test time, transformer configuration, and test conditions. Functions such as local storage, onsite printing, or computer data transfer should be selected according to the specific instrument configuration.
Select a FAT Configuration That Fits Your Factory
The appropriate transformer FAT configuration depends on transformer capacity, voltage level, test items, production volume, local power conditions, and the required level of automation.
A modular configuration may combine dedicated instruments for DC resistance, ratio, capacity and loss, short-circuit impedance, and dielectric testing. This approach suits manufacturers and service teams that test multiple transformer types or require flexible equipment deployment.
A transformer test control desk or comprehensive test bench is more suitable for factories that need a fixed FAT station, coordinated test control, repeatable operating procedures, and structured data management. Select the system around the actual FAT scope instead of transformer capacity alone.
For a suitable configuration, prepare the transformer capacity, voltage ratio, number of phases, tap range, required FAT items, applicable standards, and factory test-bay power conditions.
Related Products
Latest News
-
 2026-09-09IEC Standard CT Tester Buyer’s Guide for Utilities and Testing Companies
 -
 2026-09-09How to Use a CT Tester for Reliable Maintenance Field Testing?
 -
 2026-08-26Proper Usage and Operating Procedures for DC High-Voltage Generators
 -
 2026-08-26How do you choose a DC high-voltage generator?
 -
 2026-08-26What is a DC High-Voltage Generator?