
Home » News » Company News
CT Analyzer Connection Guide: Wiring Steps and Safety Checks
A correct CT analyzer connection is essential for reliable current transformer testing. Incorrect terminal connections, unsuitable test settings, or incomplete isolation can lead to inaccurate measurements and electrical hazards. Before testing, technicians need to identify the CT terminals, understand the measurement requirements, and follow the connection diagram for the specific analyzer model.
What Should You Check Before Connecting a CT Analyzer?
Before connecting test leads, confirm the CT specifications, the intended test, and the analyzer’s connection requirements. These checks help prevent wiring errors and unnecessary interruptions during testing.
- CT nameplate: Check the rated ratio, primary and secondary ratings, winding identification, and terminal markings.
- Test objective: Determine whether you need to measure ratio, polarity, winding resistance, excitation characteristics, or burden.
- Analyzer compatibility: Confirm that the instrument supports the CT type and required measurement.
- Test accessories: Inspect the leads, connectors, and other accessories required for the selected test.
- Safety conditions: Verify isolation, grounding, and the status of other windings according to the approved procedure.
A clear understanding of these details makes it easier to select the correct connection method. Do not assume that all CT analyzers use the same terminal arrangement, even when they perform similar measurements.
How to Connect a CT Analyzer Correctly
The connection process should follow the CT wiring diagram and the operating instructions for the analyzer. The following steps explain the main checks involved in preparing a CT for testing.
Identify the CT Primary and Secondary Terminals
Common terminal markings include P1 and P2 for the primary side and S1 and S2 for the secondary side. These markings help identify the winding terminals and their polarity relationships.
Before connecting the analyzer, check the CT nameplate and wiring diagram. Confirm the terminal markings on the actual transformer rather than relying only on wire colors or the physical position of the terminals.
For multi-ratio CTs, identify the correct secondary winding and terminal combination for the intended test. Selecting the wrong winding can affect the measurement and lead to an incorrect assessment of the transformer.
Connect the Analyzer Test Leads Correctly
Connect each test lead to the designated analyzer terminal and its corresponding CT terminal. Keep the primary and secondary connections clearly identified, and check that all connectors are secure.
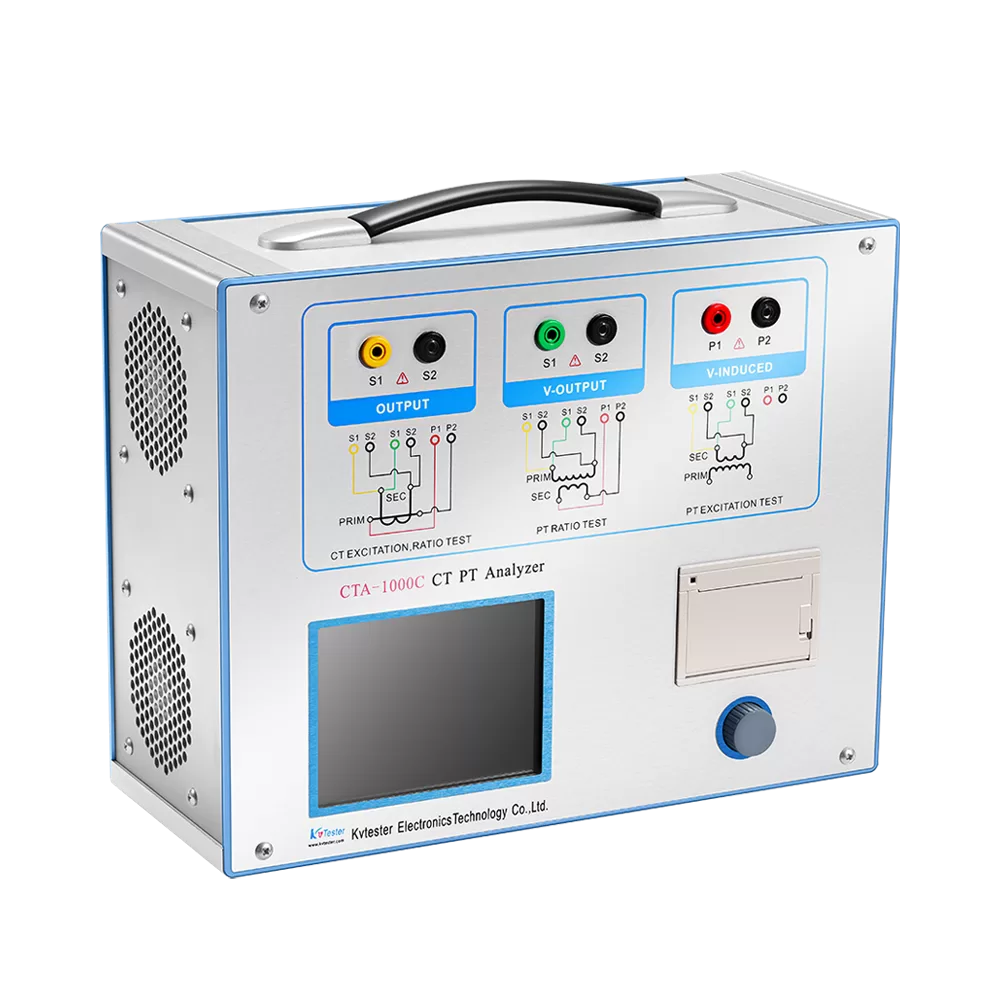
The exact arrangement depends on the analyzer model and test method. Our CTA-1000C CT analyzer connection method explains practical connection arrangements for different applications, including bushing CTs and GIS switchgear.
Use the diagram that matches the actual equipment and testing scenario. A connection diagram for one model or application should not automatically be applied to another setup.
Check Grounding and Other Winding Connections
Before starting the measurement, confirm that the equipment has been isolated and grounded as required by the approved test procedure. Check how unused windings and external circuits must be handled for the selected test.
Do not assume that every winding should be shorted, grounded, or left open. The correct arrangement depends on the CT design, test objective, and analyzer instructions.
A CT secondary circuit must never be opened while its primary is energized. Before disconnecting secondary wiring, ensure that the circuit is safely de-energized or secured under the applicable approved procedure.
Verify the Connections Before Testing
Complete a final inspection before activating the analyzer.
- Confirm that every lead is connected to the correct terminal.
- Verify the selected winding and test configuration.
- Check connectors and lead insulation for visible damage.
- Confirm that isolation and grounding meet the approved safety procedure.
- Ensure that the setup matches the correct wiring diagram.
If any connection is uncertain, stop and verify it before proceeding. A short inspection can prevent repeated measurements and help avoid unsafe testing conditions.
How CT Analyzer Connections Differ by Test Type
A CT analyzer may support several measurements, but the connection requirements are not necessarily identical for every test. Understanding the purpose of each measurement helps technicians prepare the correct setup.
- Ratio and polarity testing: Checks the transformation ratio and polarity relationship. Confirm the primary and secondary terminal identification before testing.
- Excitation and saturation testing: Evaluates the CT’s magnetic behavior and saturation characteristics. Follow the designated excitation test configuration.
- Winding resistance testing: Measures the electrical resistance of the CT winding. Use the specified resistance measurement setup.
- Burden testing: Evaluates the impedance associated with the relevant CT circuit. Confirm the applicable circuit and measurement configuration.
- Phase-angle accuracy testing: Assesses the phase displacement between primary and secondary quantities. Verify the selected test mode and required CT parameters.
For ratio testing, incorrect terminal identification or an unsuitable configuration can affect the interpretation of the results. For excitation and resistance measurements, the designated test connections must be followed rather than simply reusing the ratio-testing arrangement.
Because these tests have different objectives, always check the connection requirements and test settings separately.
What Causes CT Analyzer Connection Problems?
An unexpected test result does not automatically mean that the current transformer is defective. Check the connection and test configuration before deciding whether further investigation is necessary.
Incorrect Terminal Identification
If the primary and secondary terminals are confused, or the wrong secondary winding is selected, the measurement may not represent the intended test condition.
Recheck the CT nameplate, terminal markings, and wiring diagram. For multi-ratio CTs, verify the selected terminal combination before repeating the test.
Incorrect Test Settings
The analyzer settings must match the intended measurement and CT specifications. Incorrect rated values, winding selections, or test modes can make the results difficult to interpret.
Review the configuration against the CT nameplate and the operating instructions. Change only the settings that have been verified as incorrect.
Loose Connections or Damaged Test Leads
Loose connectors, damaged insulation, or poor contact can interfere with measurement reliability.
Inspect the leads and connectors before testing. Replace damaged accessories and correct loose connections only after the equipment has been placed in a safe condition.
Unexpected Ratio, Polarity, or Excitation Results
When results appear abnormal, follow a systematic troubleshooting process:
- Verify the CT terminal markings and selected winding.
- Recheck the test lead connections against the correct diagram.
- Confirm the test mode and required parameter settings.
- Inspect the connectors and accessories.
- Repeat the measurement only after correcting any identified problem and confirming that the setup is safe.
If the results remain abnormal, follow the analyzer’s troubleshooting instructions and investigate the CT and test circuit further. Avoid attributing the problem to a defective transformer before checking the entire measurement setup.
How to Choose a CT Analyzer for Your Connection Requirements
The right CT analyzer should match the CT type, required measurements, accuracy requirements, and field testing conditions. We recommend comparing the instrument’s actual specifications rather than choosing solely by model name.
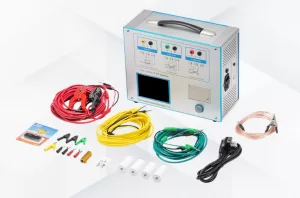
CTA-1000C CT/PT Analyzer
Our CTA-1000C CT/PT Analyzer supports CT and PT testing, with a CT ratio measurement range of 1–40,000 and specified CT ratio accuracy of ±0.05%. Its DC resistance measurement range is 0–300 Ω, and its burden measurement range is 0–1,000 VA.
The instrument supports ratio and phase-angle accuracy, excitation characteristics, winding resistance, burden, and polarity testing. It also supports automatic evaluation according to IEC and IEEE standards.
With dimensions of 365 × 290 × 153 mm and a weight below 10 kg, the CTA-1000C is suitable for consideration in field testing and calibration workflows. Confirm that its specifications and connection accessories meet the requirements of your application.
CTA-1000D CT/PT Analyzer
Our CTA-1000D CT/PT Analyzer supports CT ratio and phase-angle accuracy, excitation and saturation, winding resistance, burden impedance, and polarity testing. Its specified automatic test duration is less than 2 minutes, and its weight is 9 kg without accessories.
For CT ratio measurements, the specified accuracy varies by ratio range:
| CT ratio range | Typical error | Guaranteed error |
| 1–2,000 | 0.02% | 0.05% |
| 2,000–5,000 | 0.03% | 0.10% |
| 5,000–10,000 | 0.05% | 0.20% |
When comparing the CTA-1000C and CTA-1000D, consider the required ratio range, measurement accuracy, test functions, and connection accessories. The most suitable choice depends on your actual testing requirements.
You can also explore our CT/PT testing equipment to compare available solutions for different transformer testing applications.
Conclusion: Ensure a Safe and Accurate CT Analyzer Connection
A reliable CT analyzer connection starts with correct terminal identification, suitable test settings, and proper safety checks. Before testing, verify the CT wiring diagram, confirm the selected winding, and follow the instructions for the specific analyzer model.
When connection problems occur, check the wiring, test configuration, and accessories before concluding that the CT is faulty. Choosing an analyzer with the appropriate measurement range, accuracy, and test functions also helps support an efficient testing workflow.
At Kvtester, we provide CT/PT testing solutions for different transformer testing requirements. By matching the instrument to your application and following the correct connection procedure, you can establish a more consistent and reliable approach to CT testing.
Related Products
Latest News
-
 2026-10-13How Can a CT PT Analyzer Improve Testing in a Transformer Factory?
 -
 2026-10-12What Can a Multi-Function CT Tester Measure in One Test?
 -
 2026-10-12Top 5 Electrical Testing Equipment Manufacturers in China 2026
 -
 2026-09-302026 Top 3 Chinese Insulation Resistance Transformer Testing Equipment Manufacturers
 -
 2026-09-30Industrial CT Tester: How Is It Used for Current Transformer Factory Testing?